
How to Make Candles for Beginners

There are many possible reasons why you are here right now, sitting in front of your computer reading this article: how to make candles. You might be an avid-candle fan and wanted to try out making your own candles from scratch. Perhaps you’re a curious person and are looking forward to trying candle-making at home as a new hobby. Maybe you are also a business-minded person who’s interested in making your own candles to sell. Or maybe you’re just bored and want to pass time.
Regardless of your own personal reason, this article is here to guide you in every step of making candles—the beginner-friendly way!
WHAT YOU NEED:
First of all, before we get into the candle-making process and whatnot, you first need to know what materials you need. The most basic materials you will need are these three: 1. Wax, 2. Wicks, 3. Containers. If you want to make fancier and more personal candles, you may also get some essential oils or fragrance oils and some candle dyes.

You can purchase these materials individually or if you have them at home, that’d be better. But if you don’t want to go through the hassle of buying these materials one by one, candle kits are also widely available on the market. Ordering one of these would surely save you a lot of trouble.
Check out Stone Candles’ very own candle-making kits. This kit also comes with a special candle-making online class. Try it now!
Aside from these materials, it would also be handy to have a pair of popsicle sticks, barbecue sticks or chopsticks. For safety purposes, you may also use some protective gloves.
Now that we’re done with the materials needed, we’re one step closer to making your own homemade candles from scratch!
HOW TO MAKE CANDLES:
1. Prepare your space. Make sure to work in a well-ventilated and spacious working area. Have a wide table so you have enough and spare space for your materials. Aside from this, having a bigger workspace just makes candle-making easier and less stress-free. Having a larger workspace would also prevent candle-making accidents like spilled hot wax (yikes!)

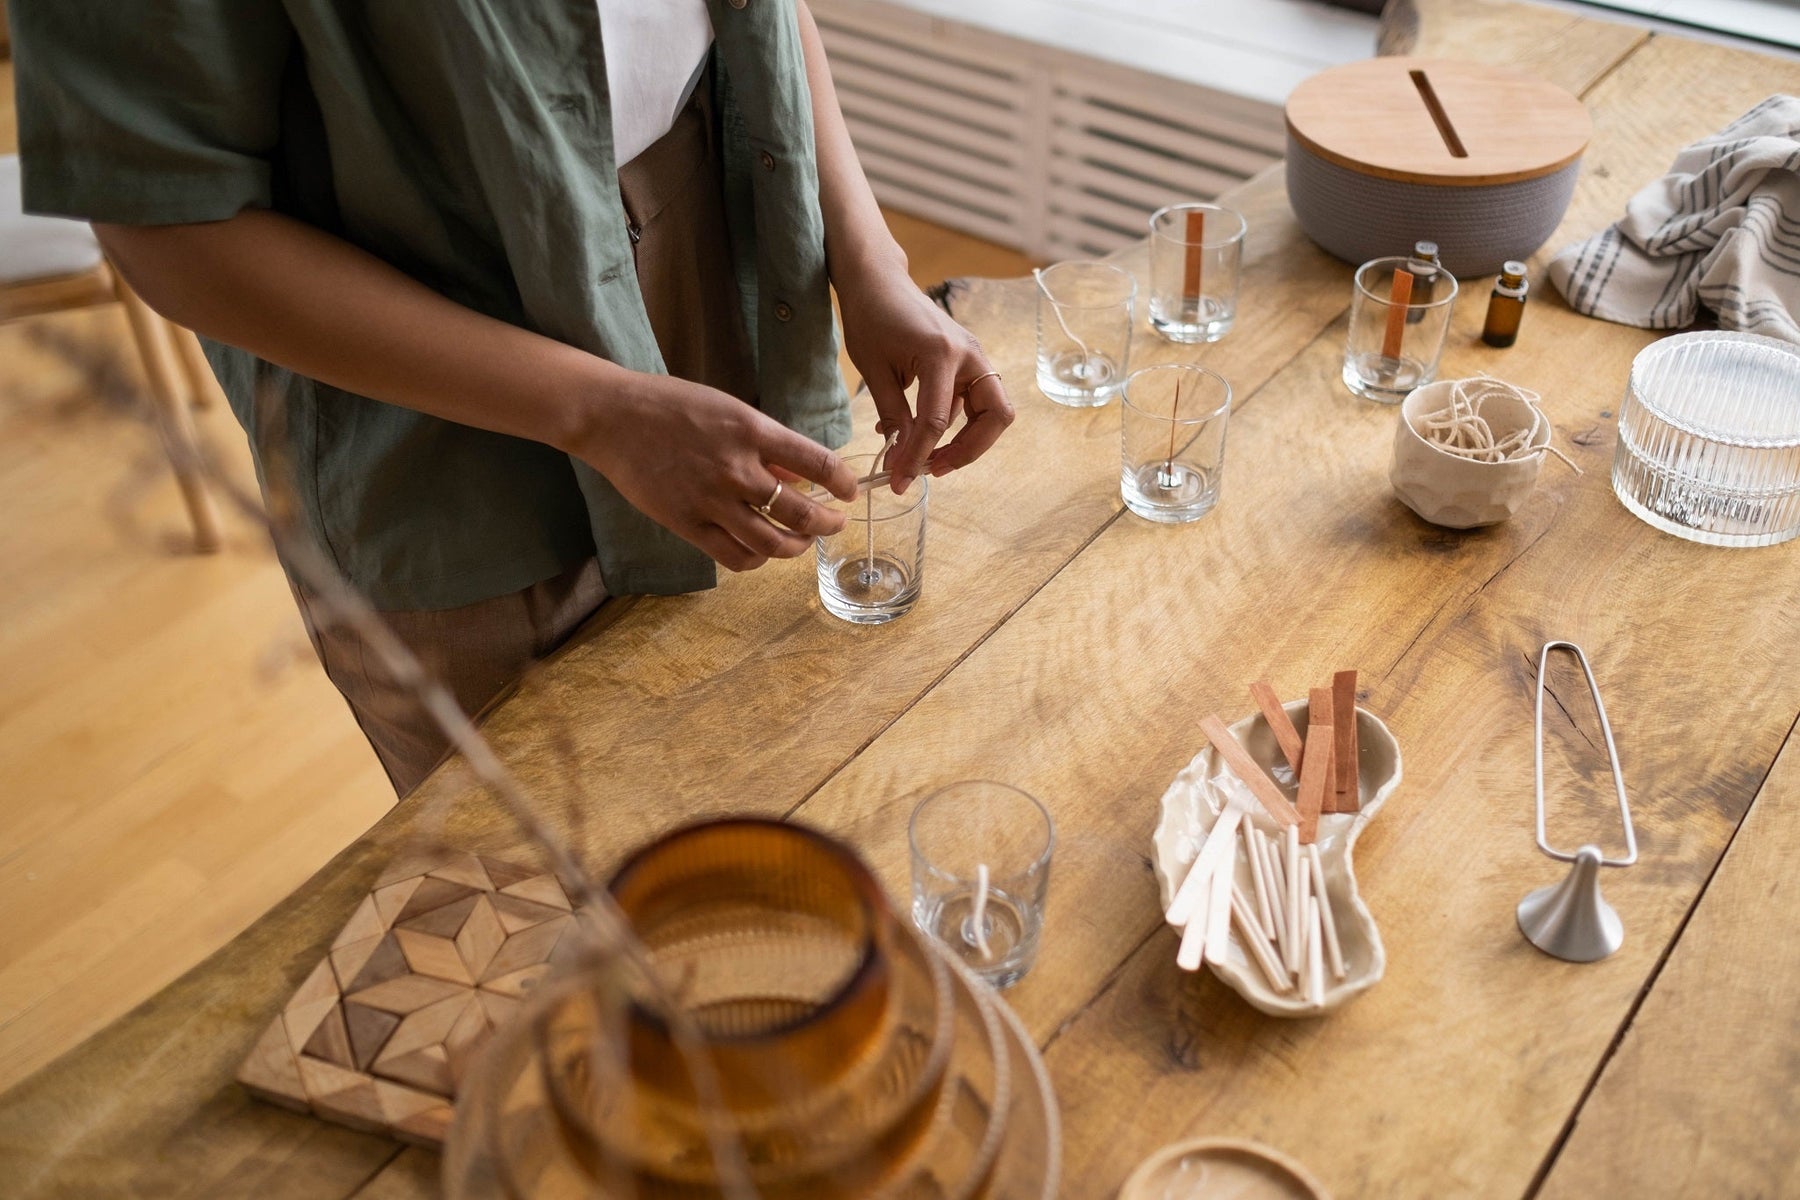
2. Place the wick at the center of your container. Before doing this make sure that your container is placed on a leveled surface with no other objects near it.

Pro tip: Use old jars or containers to be more sustainable. Don’t have old jars? Buy affordable and durable candle containers at Stone Candles instead
Don’t have wicks? Get your wicks here.
3. Melt your wax. In your melting pot, place your wax and essential oils (if you’re using them) and let the wax melt. Stir your mixture until you achieve a homogeneous mixture. After melting your wax, while it’s still liquid you may now add your dyes if you have any.

4. Pour Your Wax. After adding your dyes, you may now pour your wax mixture into your container. Pro-tip: Secure the ends of your wicks at the top of your container using your sticks (which I mentioned earlier), this would help in keeping your wick in place and straight as a rod while you pour.

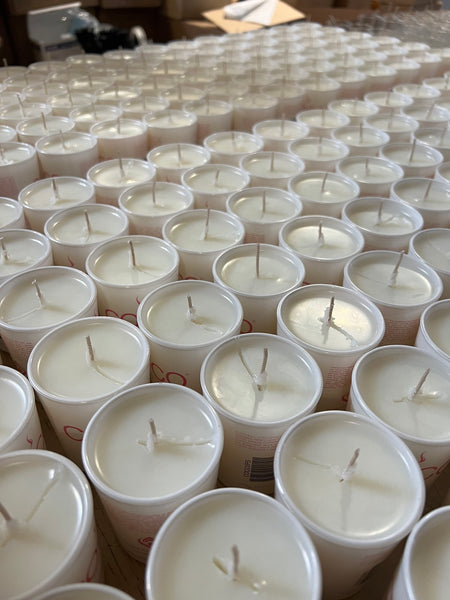
5. Let dry and wait. After pouring the rest of your waxes to your containers, don’t move them and wait until your wax becomes firm and sets. This setting process may take up 24 hrs to a week, depending on the wax you used. It is important that you don’t move or touch your candles as they set, this is so you may avoid deformations in your candles. And after waiting…

6. You now have your homemade candle! Now that you’re done with your candles, you may choose to use them for your home, give them as presents or sell them!
If you want a more detailed guide in making your own candles, you can read more at Stone Candles’ Blogs.
ADDITIONAL TIPS FOR YOU TO BECOME A PRO-CANDLE MAKER
In order for you to make best-quality homemade candles, it is important to also use only the best of quality materials. Hence, it is vital for you to know the different types of materials that you use.
WAX – There are many different kinds of wax, ranging from natural wax to easy burning waxes; there surely are many things that need to be considered in your waxes. Some waxes are specialized for longer burning; some are specialized to be clean-burning with no soot. Our personal wax recommendation would be natural coconut apricot wax, of course. Aside from burning longer than paraffin wax, natural coconut apricot wax holds fragrances more efficiently and is also eco-friendly! You may read more about natural coconut apricot wax here.
WICKS – Different types of wicks may react differently to your candles. Your wicks affect your candle’s life, the flame of your candles and of course the safety of your candles. Thus, it's highly important to put more thought into the wicks you’re using. Get your wicks here.
CONTAINERS – It is important to not just use durable containers but also use containers that are fit for candles. This would affect the even burning of your candles and also the safety of your candles. Remember: a proper container means a safer candle and home. Buy affordable and durable candle containers at Stone Candles instead.
If you find that candle-making is your true calling and passion, more tricks to becoming the best candle-maker can be read here.
You can also take your candle-making hobby to the next level by taking up candle-making classes. Stone Candles offers different candle-making programs in Sta. Monica. These classes are sure to give you not just enough, but a lot of knowledge about candle making. The classes are super affordable, too. Check out our offered programs here.
Lastly, if you want to turn your candle-making hobby into one that would earn you lots of money, you may check out Light 4 Life. They can offer you exceptional guidance and services when starting your own candle business.
Candle-making is truly one incredible roller coaster ride. There may be times when you fail in making candles, but fret not, just like any other skills and hobbies, candle-making can be improved through Patience and Practice. With that, I hope you have a great and enjoyable candle-making experience!